
Conversion to FluidNC Controller and TouchBLUE Tablet
Conversion to FluidNC Controller and TouchBLUE Tablet
This guide is for owners who have bought the FluidNC controller and TouchBLUE tablet to replace the Arduino controller on their machine. After the swap you run the CNC from the 7″ touch tablet instead of a computer. You still design and export job files on a computer, then carry them to the controller on a microSD card.
1. Before you start
Can my machine be converted?
Any BlueCarve machine with closed-loop motors can be converted:
| Machine | Can convert? |
|---|---|
| Bluey V2 (closed loop) | Yes |
| Turbo, closed loop with Arduino controller | Yes |
| Trax, closed loop with Arduino controller | Yes |
| Bluey V1, open-loop Turbo or open-loop Trax | No |
Not sure which motors you have? Use the Which BlueCarve CNC do you have? page, or email a photo of a motor and your controller box.
What you need
- Your new FluidNC controller and TouchBLUE tablet.
- The microSD card (it comes inserted in the controller) and the microSD card reader.
- A USB-C cable and power supply for the tablet. A USB battery pack also works if you want to move the tablet around.
- The 24 V power pack for the controller.
- A computer with internet access for Easel, and your phone to take photos.
The tablet comes pre-installed and pre-configured with your machine’s settings. Don’t modify the tablet: changes may void its warranty.
2. Swap the controller
- Take clear photos of the old controller with every cable still plugged in. You’ll use them to match cables to sockets.
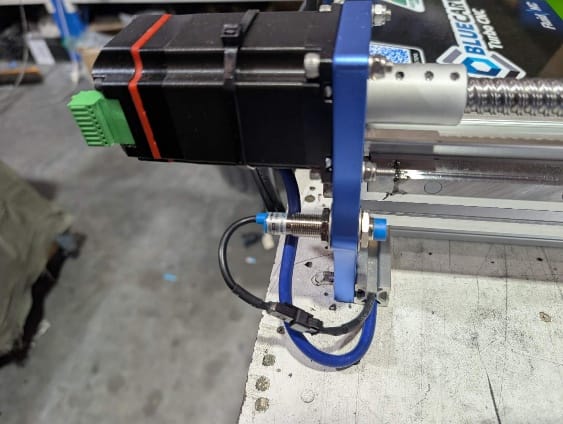
- Unplug each cable from the old controller: the motor cables, the limit switch (sensor) cables, the Z probe, the laser plug and the power lead. Label any cable that isn’t already labelled.
- Put the new FluidNC controller where the old one was, with free air flow around it.
- Plug each cable into the matching labelled socket on the new controller. The closed-loop motor connections are keyed, so each plug only fits its own socket. Don’t force a plug.
- FluidNC machines use a separate emergency stop. Fit and connect it so you can reach it easily from where you stand to run the machine.
- Connect the spindle (VFD) and laser connections to the new controller as labelled, if you use them.
- Check every plug is fully seated and no wires are loose, then continue with the FluidNC Set Up and First Job guide.
3. Set up and run your machine
With the new controller fitted, follow the FluidNC Set Up and First Job guide. It covers the first-time set up (connecting the tablet, checking its software version, testing the sensors and probe, and homing), making job files in Easel, running a job from the tablet, keeping the tablet up to date and troubleshooting.
Email adam@bluecarve.com.au with your machine model, size and a photo or short video of the problem. Owners also help each other in the BlueCarve owners group on Facebook.
Stuck on something? I’m Bingo. Answer a couple of questions and I’ll point you to the fix.