
Easel Set Up (Arduino controllers)
Easel Set Up (Arduino controllers)
| Version | Motors | Controller | Software |
|---|---|---|---|
| Bluey V1 | Open loop | Arduino | Easel |
| Bluey V2 | Closed loop | Arduino | Easel |
| Turbo, open or closed loop | Open or closed loop | Arduino | Easel |
| Trax, open or closed loop | Open or closed loop | Arduino | Easel |
| Turbo or Trax, FluidNC | Closed loop | FluidNC | TouchBLUE tablet, not this guide |
1. About Easel
Easel by Inventables is online software that does all three jobs you need: design (CAD), toolpaths (CAM) and sending the job to the machine (sender). Easel is the recommended software for BlueCarve machines with a GRBL controller. Other senders such as gSender, CNCjs and UGS exist, but BlueCarve doesn’t support them.
Before you start, read the router safe operating procedure.
2. Connect your machine to Easel
Easel runs in your web browser. Most machines now connect straight from the browser (Easel calls this Quick Connect), so there’s nothing to install. You need an internet connection to use Easel, but if your internet drops mid-carve, the carve keeps going.
Use Windows 11 or a recent macOS. Easel says it may not work on Windows 10.
Plug the USB cable straight into your computer, not through a hub, and use a data cable (some cables only charge).
Close any other Easel tabs and programs like UGS or Candle. Only one program can use the machine at a time.
- Sign up for an account at easel.com and log in.
- Switch on your BlueCarve and plug the USB cable into your computer. On a Turbo, release the emergency stop by turning the red knob clockwise.
- Click Carve (top right).
- If your browser shows easel.com wants to look for and connect to any device on your local network, click Allow. Easel can’t reach your machine without it.
- Easel shows You’re ready to connect. Under Quick Connect, click Connect machine.
- Your browser lists serial ports. Choose your machine (on Windows it usually shows as USB Serial Port (COMx)) and click Connect.
The first time you connect, Easel takes you through machine set-up (next section). Some computers ask you to choose the machine from the list each time you plug it in. That’s normal.
If Quick Connect doesn’t work: use the Easel Driver
The Easel Driver is a small program that runs on your computer. Only install it if Quick Connect won’t work, or if you want Easel to find your machine automatically every time. Quick Connect doesn’t work while the driver is installed.
- Click Carve, then click Install driver under Prefer the Easel Driver? (or download it from easel.com/downloads).
- Run the installer, restart your computer and open Easel again.
- Click Carve. Easel should find your machine. If it doesn’t, click Enter COM port manually and enter the COM number from Windows Device Manager.
Already using the driver? Easel needs the latest version and will ask you to update it when you connect.
3. Set up your machine
The first time you connect, Easel asks you to set up your machine. If it doesn’t, open the Machine menu and start a new machine set-up.
- Choose BlueCarve as the manufacturer. If BlueCarve isn’t listed, click I have a different CNC manufacturer that is not listed and go to step 9.

Choose BlueCarve. - Choose your model:
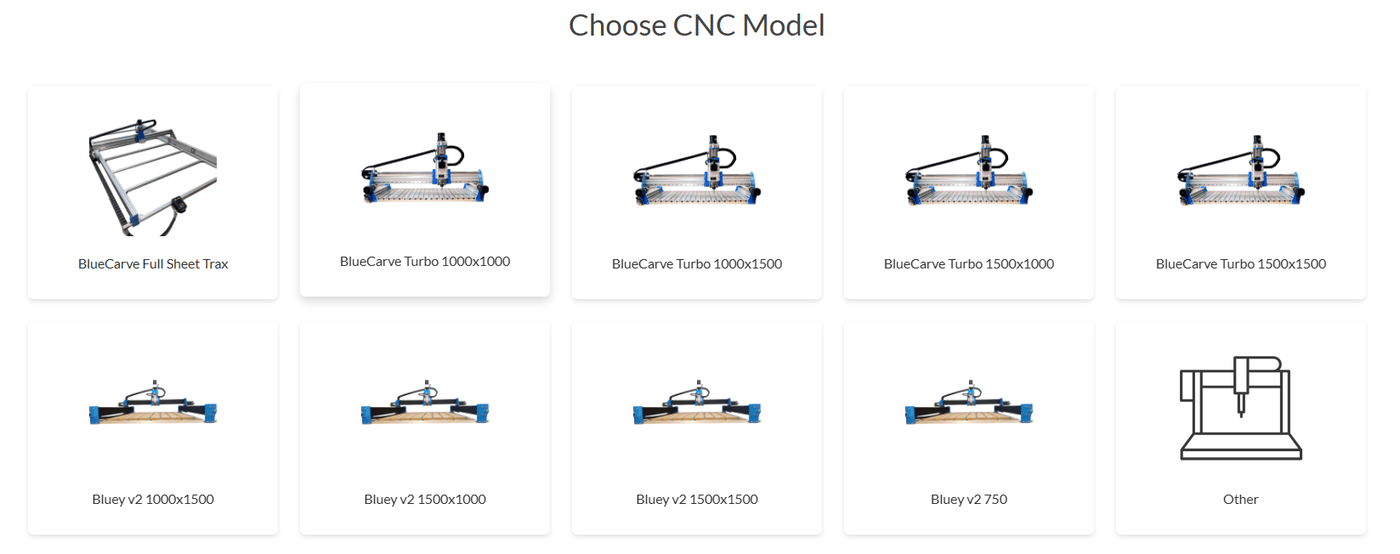
- Bluey V1 or V2: choose the Bluey v2 option for your machine size.
- Turbo or Trax with a Z upgrade: choose your size.
- Turbo or Trax with a standard Z, or if you’re unsure: choose Other.
Choose your CNC model. If you chose a preset model, go to step 10.
- If you chose Other, enter:
Field Setting Machine Type Other (grbl) Make BlueCarve Model Other Other Model Your machine model and size, plus “Standard Z” Motion Control X-Controller or Other GRBL Based Controller Work Area X and Y See the table below Machine Work Area X (mm) Work Area Y (mm) Bluey 1×1 750 750 Bluey 1×1.5 750 1250 Turbo 1×1 800 800 Turbo 1×1.5 Portrait 800 1300 Turbo 1×1.5 Landscape 1300 800 Turbo 1.5×1.5 1300 1300 Trax: choose Other and enter your machine’s work area for X and Y.
- Check the machine details, leave Dust Shoe unticked, and click Confirm Settings. Easel writes the settings to your controller. If it asks you to connect, follow the connect steps in section 2.
- On the Accessories page, tick Z-Probe if you have the BlueCarve probe, and enter the plate thickness: 15 mm. Leave the dust shoe unticked.
Probe plate thicknessThe thickness set in Easel must match your probe plate, or every carve will start at the wrong depth. BlueCarve’s probe plate is 15 mm thick on every machine. Easel keeps this setting in your browser, so check it again if you clear your browser data or set up a new machine profile.
- On the axis test page, jog each axis to check it moves the right way, then tick the box beside that axis. Click Next when all three are ticked.
If the machine doesn’t move at all and the motors don’t engage, the boards may have separated in transit. Older models use an Arduino with a controller shield. Switch off and unplug the power, open the controller box, line up the controller shield and the Arduino, and press the Arduino firmly back down.
If an axis moves the wrong way, switch off and unplug the controller first, then swap the two wires within one pair of that axis’s motor (for example, Brown and White). Don’t swap one wire from each pair: the motor won’t run properly. The bottom wiring order is always:
Pair 1 Pair 2 Brown / White Blue / Black Power up and test the direction buttons again. This doesn’t apply to closed-loop motors (Bluey V2, closed-loop Turbo and Trax).
- On the spindle page, choose Manual. Your trimmer or spindle is switched on by hand, not by the controller.
- On the homing page, click Enable Homing and run the homing sequence. If a limit switch doesn’t activate, it may be wired incorrectly (Bluey) or its plug may be disconnected (Turbo and Trax).
- Easel then asks you to set up the Z probe. If you don’t have one, click Skip and go to step 21.
4. Set up your Z probe
- Check the Z probe’s red banana plug is plugged into the controller box. The first circle turns into a green tick.
- Attach the black alligator clip to the bit or collet, then tick the box to confirm the clip is attached.
- Touch the probe plate to the clip (or to the bit it’s attached to). The circle should turn green and show Contact. You may need to hold the contact for longer than 1 second.
A green circle shows contact. - When you first probe a job, the Z axis moves down until the bit touches the plate, then lifts off. If the Z axis stops and lifts before touching the plate, you may have a machine grounding issue. Email Adam about ways to ground your machine.
- Click Continue.
- Easel shows the finish screen. Click through to your projects, or start Easel’s introductory project.
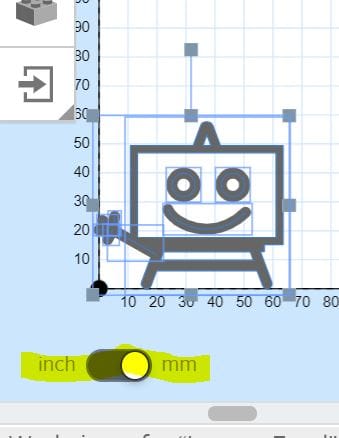
- At the bottom left of the workspace, choose your units. We suggest mm.
Choose mm with the units toggle. - You’re ready to start carving.

5. Tips for using Easel
- Ease into it. Start by carving your name into a bit of scrap.
- Visit Adam’s Bits for tips on each bit, the feeds and speeds guide and the guide to CNC router bits. Use the feeds and speeds calculator for starting settings.
- Easel’s standard feed settings are slow. Once you get the hang of it, increase the feed rate and/or the depth per pass. You’ll eventually be able to run about 3 times faster comfortably.
- Keep the trimmer or spindle speed low: Makita trimmer between 2 and 3, spindle between 12,000 and 14,000 RPM. Faster speeds create heat, which blunts your bits sooner.
- On the free plan, a G-code export counts the same as a carve, so plan your one carve a week.
6. Troubleshooting
| Problem | Check |
|---|---|
| No Connect machine button | Use Chrome or Edge. If the Easel Driver is installed, Quick Connect is switched off: either use the driver, or uninstall it and restart your computer. |
| Machine isn’t in the browser’s device list | Check the machine is on and, on a Turbo, the e-stop is released (turn the red knob clockwise). Try another USB port (the blue USB 3.0 port on some computers causes problems) and another cable. In Windows Device Manager, look under Ports (COM and LPT). If it’s under Other devices with a yellow warning, install the FTDI driver. |
| Easel can’t find the machine, or keeps asking for the driver | Allow local network access: click the icon to the left of the Easel address, turn on Local network access and refresh. Close other Easel tabs and programs like UGS or Candle. Try another computer. |
| Connection drops during a carve | Windows may be switching off the USB port to save power. Turn off USB selective suspend in Control Panel, Power Options, advanced power settings, USB settings. |
| Machine doesn’t move and motors don’t engage | Switch off and unplug the power. Open the controller box and line up the controller shield and the Arduino, and press the Arduino firmly back down. |
| An axis moves the wrong way | Switch off and unplug the controller, swap the two wires within one pair of that motor (for example, Brown and White), then test again. Not applicable to closed-loop motors (Bluey V2, closed-loop Turbo and Trax). |
| A limit switch doesn’t activate | Bluey: check the switch wiring. Turbo and Trax: check the plug is connected. |
| Machine homes in the wrong direction | Open Machine > General Settings > Machine Inspector and use the console. Check $23=3 (home is Z up, X left, Y front); if not, type $23=3 and press Enter. Check homing is enabled with $22=1. |
| Probe circle doesn’t go green | Hold the contact for longer than 1 second. Check the probe is plugged into the controller box. |
| Z axis lifts before touching the probe plate | Possible grounding issue. Email Adam. |
| Carves start too deep or too shallow after probing | Check the probe plate thickness in Easel is set to 15 mm. It can reset if you clear your browser data. |
| Easel won’t let you carve | On the free plan you get one carve or G-code export per week. Upgrade, or wait for the week to reset. |
| Bits blunt quickly | Lower the trimmer or spindle speed (Makita 2 to 3, spindle 12,000 to 14,000 RPM). |
Email adam@bluecarve.com.au with your machine model, size and a photo or short video of the problem. Owners also help each other in the BlueCarve owners group on Facebook.
Stuck on something? I’m Bingo. Answer a couple of questions and I’ll point you to the fix.